Easy access to REST API testing is an important factor in choosing a product to integrate into your video streaming solution. To simplify the testing process, we provide our API reference and documentation in our public Wowza Video API Postman site for you to fork to your own Postman workspace to use.
This topic walks you through that process.
Video tutorial: Trial Wowza Video REST API using Postman
Before you start
You should have:
- A Wowza Video account so you can generate a personal access token to send requests to the API. If you don't have an account and want to use the free trial, see Wowza Video free trial for more information including trial limitations.
- A Postman account to make calls to the Wowza Video REST API. You will use the online Postman version to fork a collection using the instructions below.
1. Get your access token
You'll use an access token, also called a JSON Web Token, to authenticate yourself when you make calls to the REST API. The token identifies the Wowza Video account and specific user making the API requests.
Generate the token in the Wowza Video user interface.
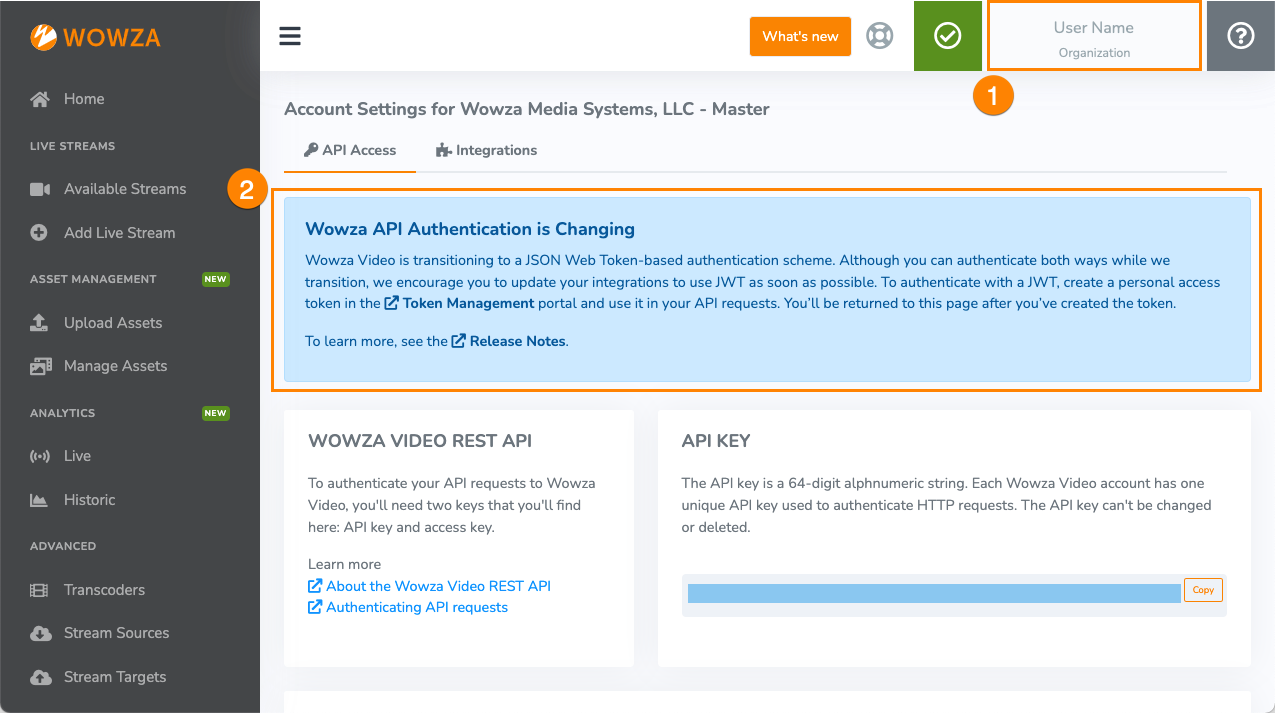
- In the menu bar, click your user name and choose Account Settings.
- Make sure you're on the API Access tab, then click Token Management in the Wowza API Authentication is Changing banner.
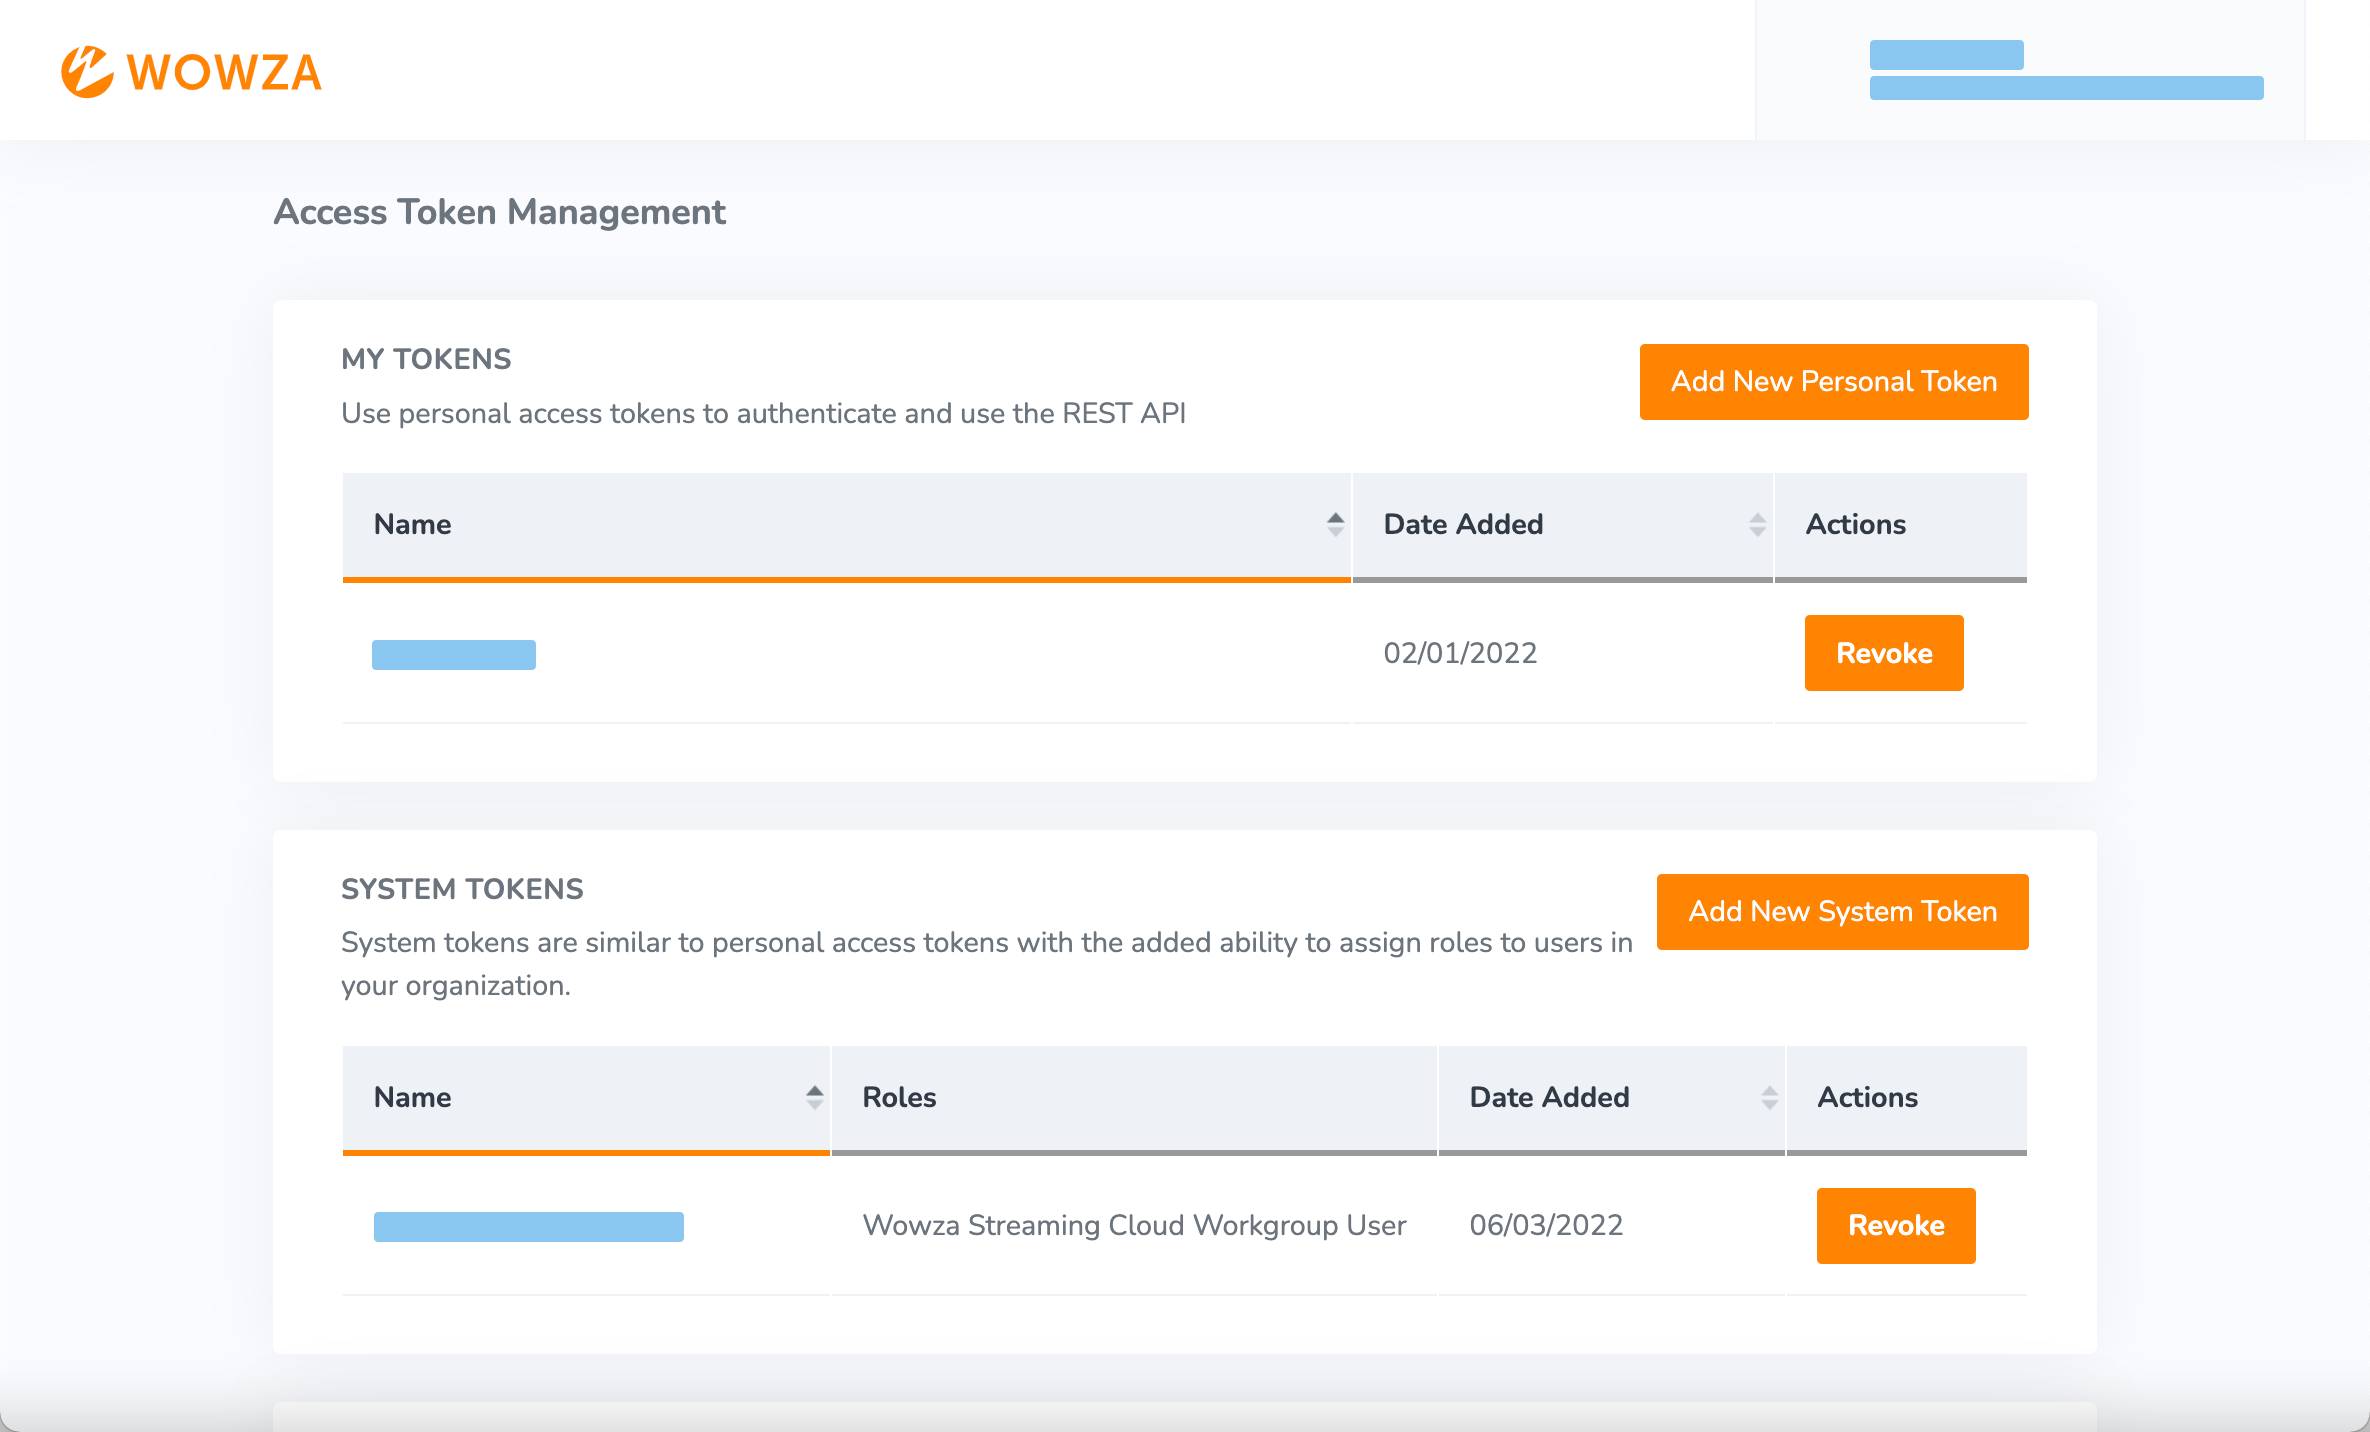
- In the Token Management portal, add a new token. To test an API, you can create and use a personal access token. Integrations in production environments should use a system access token for authentication.
Make sure you copy the token and store it in a safe location; you won't see the token again later and you need it for the next steps.
2. Go to the public Wowza Video REST API Postman site
We make it easy to trial and test out our entire REST API by providing a public Wowza Video API site containing API collections with pre-populated paths, variables, and more. You'll also be able to use Postman's Documentation tab and Code drop-down menu to help you learn more about the API collections and get our request sample code in additional languages that Postman supports.
- Using your browser, go to the public Wowza Video API Postman site. You don't need to be logged into Postman to view this site.
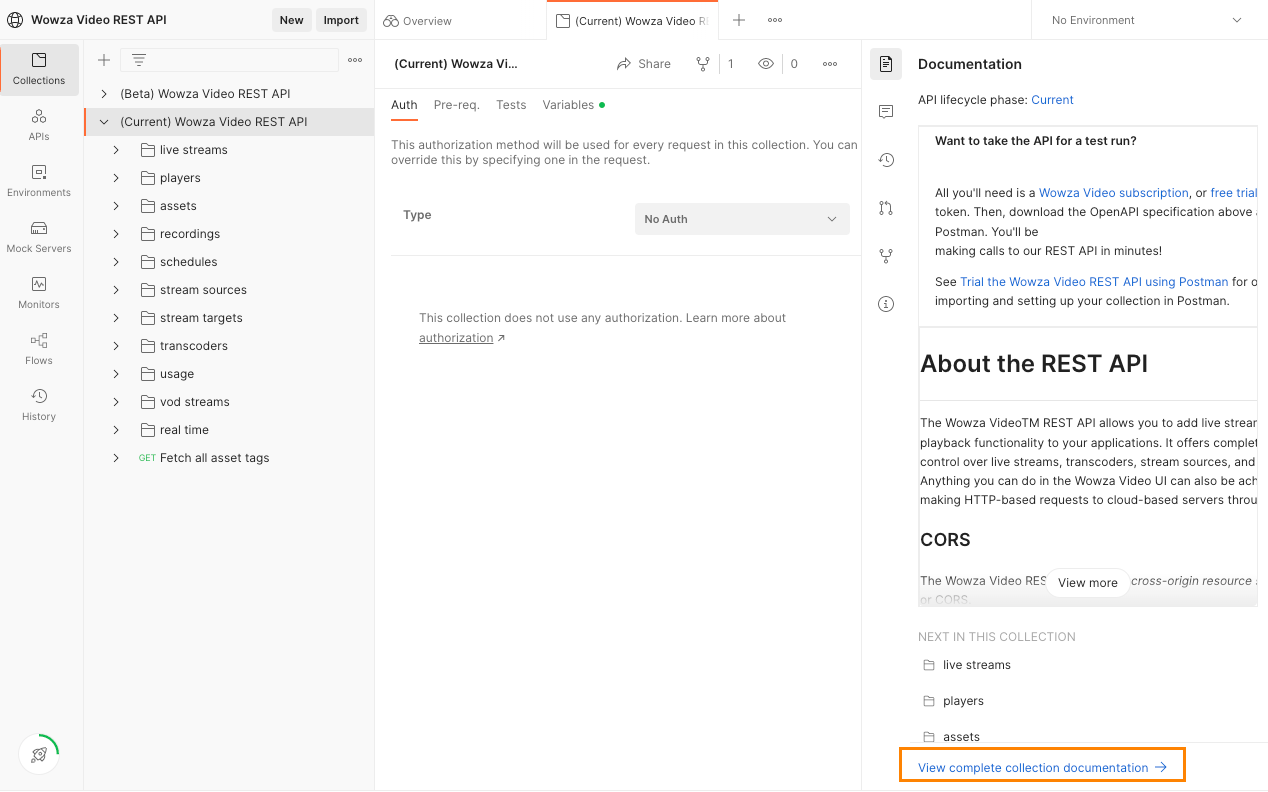
- On the Collections tab, select the API version you want to evaluate.
Current — This version offers the most complete, up-to-date, tested, and stable code base. We strongly recommend using the current version in your production environment.
Beta — This version contains everything that's in the current version as well as some features and functionality that are still in development. These work-in-progress features aren't fully tested and are subject to change. When we're done testing, we'll promote the beta version to the current version and then create a new beta with new features. You're free to use the beta version for testing and evaluation, but beta versions aren't intended for use in production environments and we caution against using a beta in production.
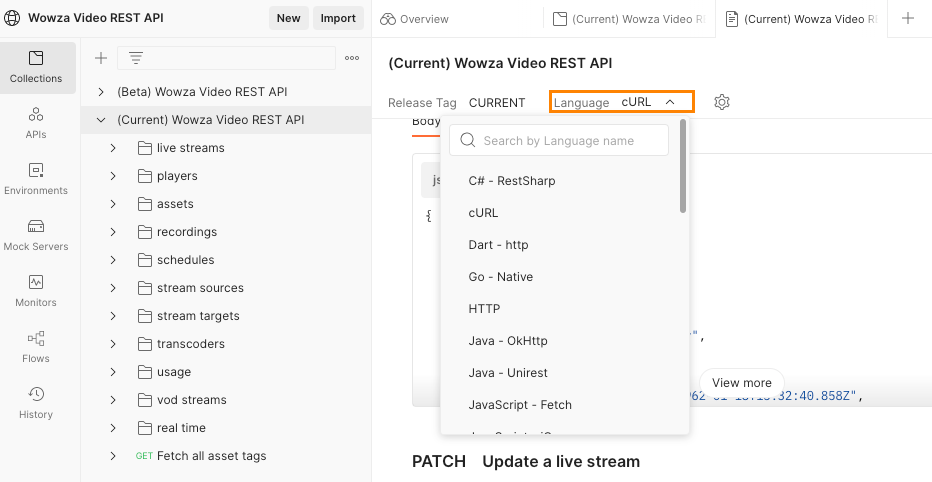
- Optionally, to view the documentation for the selected API and change the language for request sample code, select View Complete Collection Documentation.
- Click the Language drop-down, then select the language you want for the sample code.
3. Fork a collection
After you've decided which API version you want to test, you'll need to fork the collection to your own workspace so you can send requests. Collections in the Wowza Video REST API workspace are view-only and you can't send requests until you've created your own fork.
- Sign in to Postman if you're not already signed in.
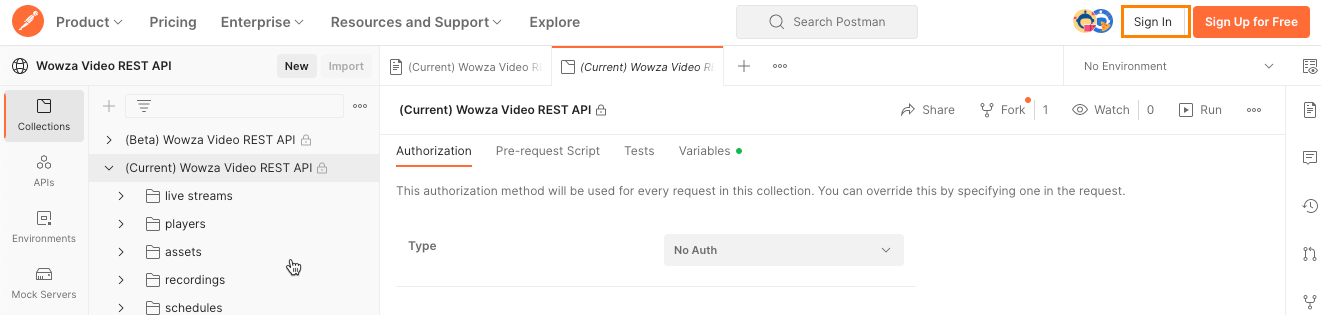
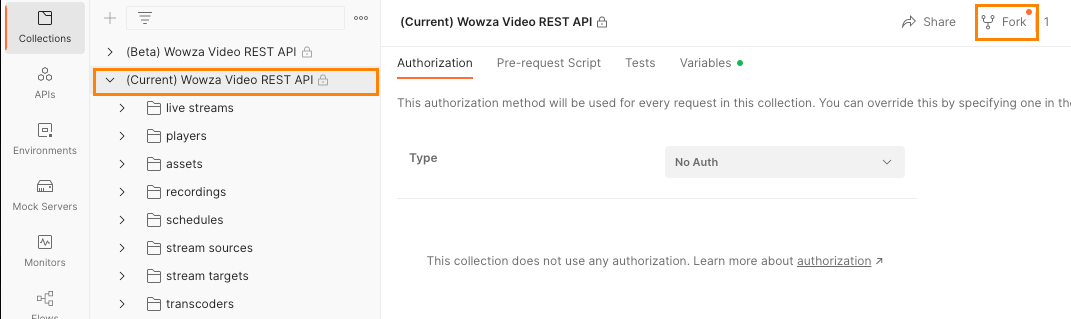
- Select the collection you want to fork, then click Fork.
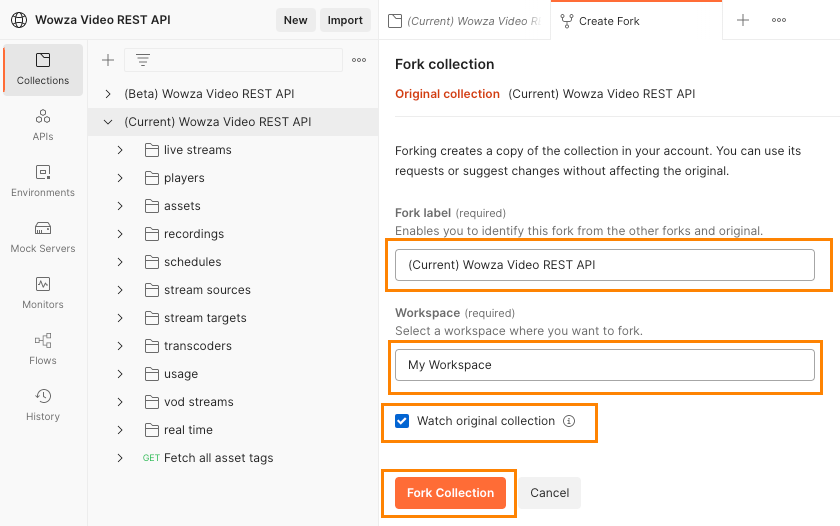
- Add a name for the fork, select the workspace you want to fork to, add a checkmark to Watch Original Collection so you are alerted when the collection is updated in the Wowza workspace, then click Fork Collection.
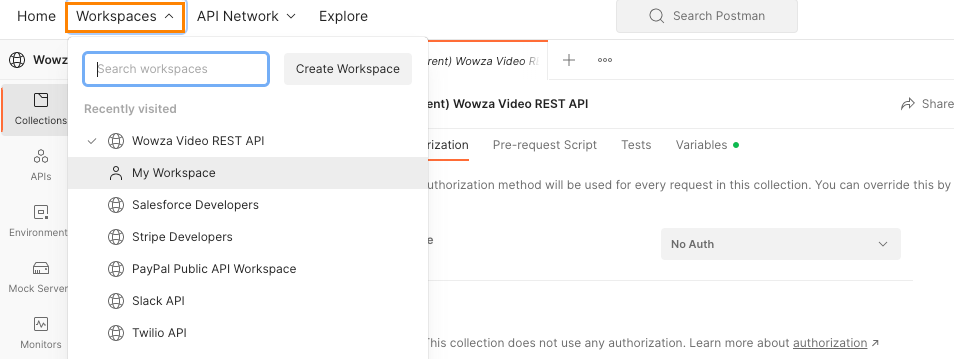
- After you receive a confirmation of the forking, click Workspaces, then select the workspace where you forked the collection.
4. Configure the Authorization method for the collection
To send requests from within your workspace collection, you'll need to set the Authorization method to Bearer Token and add your access token. Every request in the collection will use this authentication method.
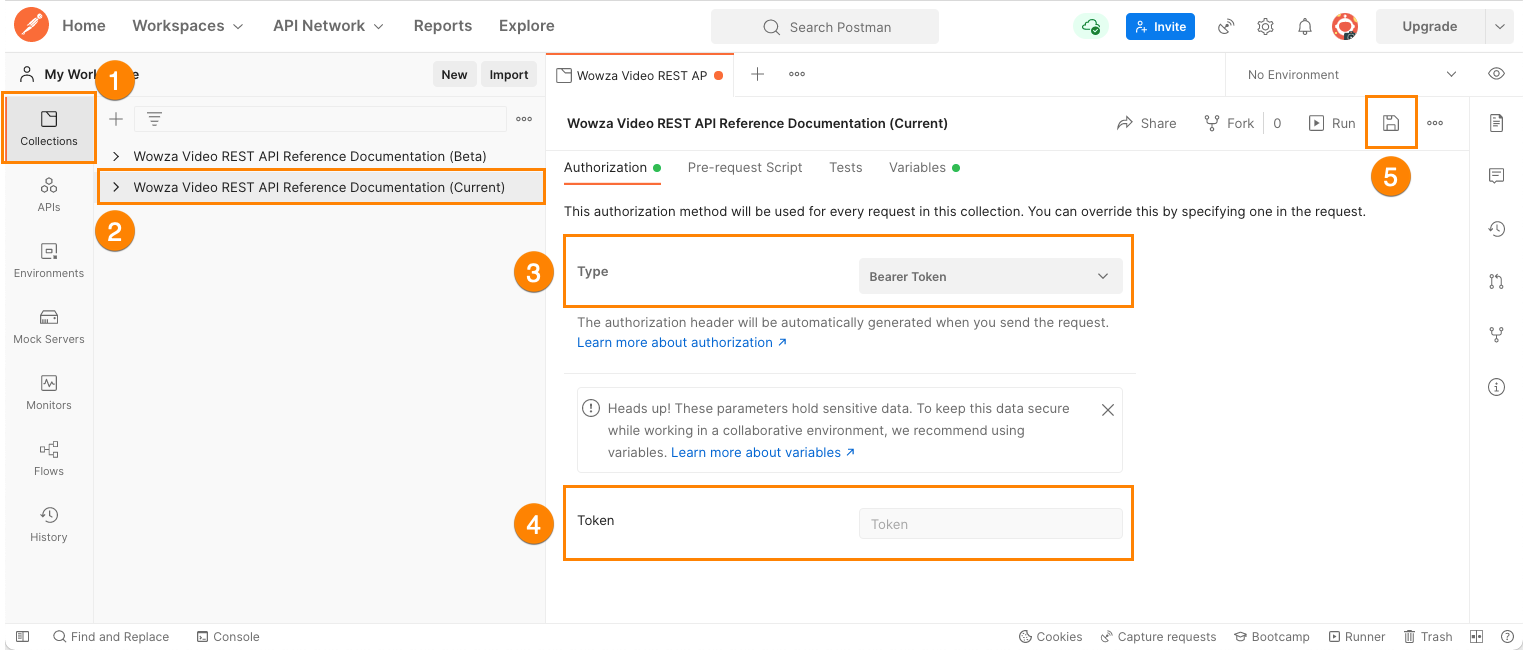
- Select the Collections tab.
- Select the collection you want to use, then click the Authorization tab on the pane that opens.
- Select Bearer Token from the Type pull-down.
- Add your access token in the Token field.
- Click the Save icon.
On the Variables tab, you can see that the baseURL is already populated for you and reflects the version of the OpenAPI spec you imported. This variable is used in the URL of all the API requests in the collection.
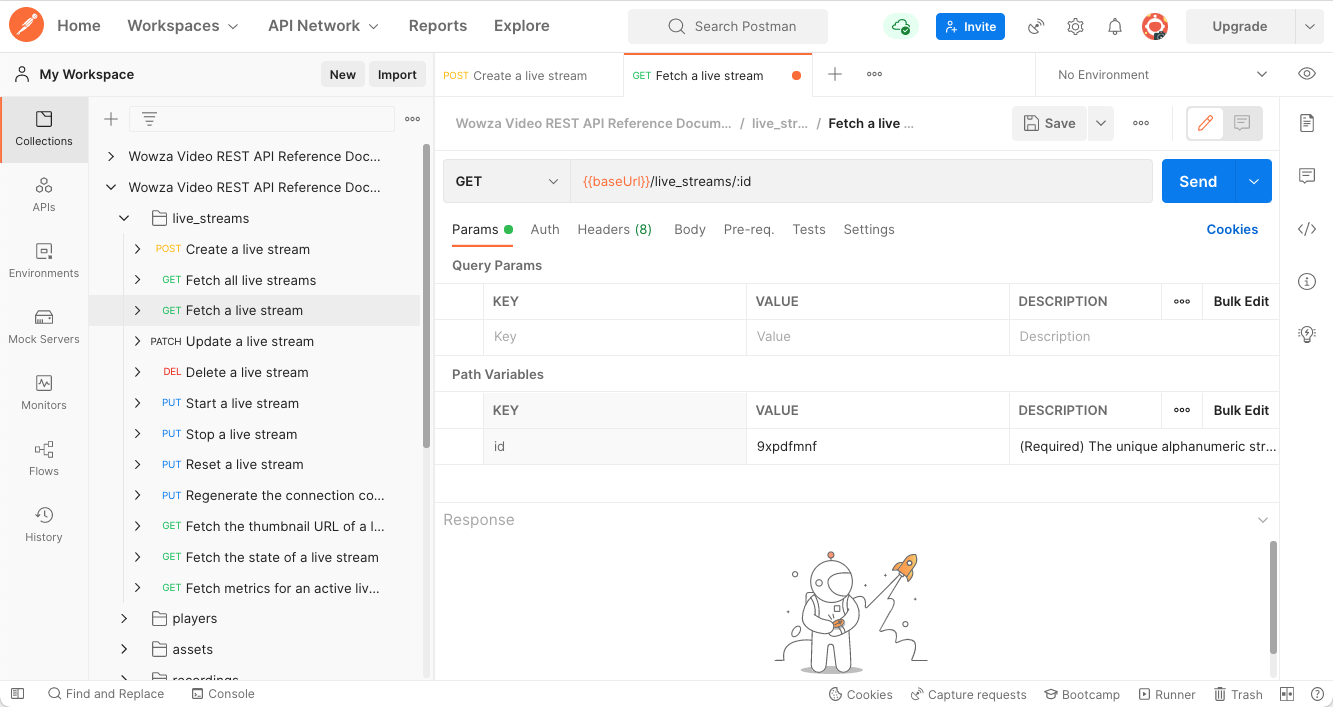
5. Send API requests
You're now ready to send API requests using the Postman collection you forked! Let's create a new live stream as an example.
- In the live_streams folder of the collection, select POST Create a live stream.
- Open the Body tab to see the required parameters that will create the live stream. In this case, we're creating a WebRTC stream, similar to what you see below.
'{ "live_stream": { "aspect_ratio_height": 720, "aspect_ratio_width": 1280, "billing_mode": "pay_as_you_go", "broadcast_location": "us_west_oregon", "encoder": "other_webrtc", "name": "MyLiveStream", "transcoder_type": "transcoded" } } - Click Send.
A successful request for this sample will return a 201 Created status and data about the object created in the response body. In particular, you want to make note of the object ID that's returned. You'll usually use those in subsequent calls to complete actions on those objects, like starting the live stream.
Tip: For requests that complete an action on an object, like starting a live stream or fetching the details of a specific live stream, you'll need to provide object IDs in the URL. You can do this by setting the id variable on the Params tab. The value for the ID will be lorem ipsum placeholder text until you add the actual ID.
Next steps
You created a live stream as part of this tutorial to make sure your collection is set up and working. If you want more guidance for what requests to make to get a live stream started, see Start live streaming using the Wowza Video REST API.
You might also want to explore our other Postman collections created for our Video Series: Using the Wowza Video REST API, located here: https://github.com/WowzaMediaSystems/wowza-video-api-demos-postman.
More resources
- Authentication — Learn more about authenticating REST API calls in Wowza Video.