Learn how to use the Wowza Video REST API to deliver WebRTC streams to viewers through a CDN for playback over HLS.
You'll need to choose which workflow you'll use, live stream or transcoder, before you begin this task. See Decide between a live stream or transcoder workflow for more information about these workflows.
Before you start
You should be familiar with the following concepts:
- API authentication methods. We use JSON web tokens for API authentication. See Authentication for more information.
- Environment variables. We use environment variables for the API version and your JWT in the cURL API request examples in this topic to make it easier for you to copy, paste, and run commands in your Terminal or Command Prompt window. If you don't set environment variables for these values, you'll need to manually enter the correct values in the code samples throughout this tutorial. See Tools for testing the API for instructions.
Live stream workflow
1. Create a live stream
Create a live stream that receives a WebRTC source by sending a POST request to the /live_streams endpoint.
You can use the following sample request, making sure to:
- Set encoder to other_webrtc.
- Set aspect_ratio_height to 1280. Recommended value for WebRTC streams.
- Set aspect_ratio_width to 720. Recommended value for WebRTC streams.
- Set broadcast_location to the region that's closest to your video source.
- Set delivery_method to push. Wowza Video doesn't support pull or cdn connections for WebRTC.
- Change any values unique to your broadcast, using the API reference documentation as a resource. See the Endpoint Reference button below.
Sample request
curl -X POST \
-H "Content-Type: application/json" \
-H "Authorization: Bearer ${WV_JWT}" \
-d '{
   "live_stream": {
     "aspect_ratio_height": 720,
     "aspect_ratio_width": 1280,
     "billing_mode": "pay_as_you_go",
     "broadcast_location": "us_west_california",
     "delivery_method": "push",
     "encoder": "other_webrtc",
     "name": "MyWebRTCStream",
     "transcoder_type": "transcoded"
   }
}' "${WV_HOST}/api/${WV_VERSION}/live_streams"
Sample response
The response includes:
- An id for the live stream you'll use in the next step.
- source_connection_information you'll use in the next step to configure the WebRTC publish page.
- sdp_url, application_name, and stream_name
- A url in the hosted_page object. You'll give this to your viewers to watch the stream.
{
   "live_stream": {
     "id": "1234abcd",
     "name": "MyWebRTCStream",
     ...
     "encoder": "other_webrtc",
     ...
     "source_connection_information": {
       "sdp_url": "wss://[subdomain].entrypoint.video.wowza.com/webrtc-session.json",
       "application_name": "app-30zl5349",
       "stream_name": "32a5814b"
     },
     ...
     "hosted_page": {
       "enabled": true,
       "title": "Hosted player page",
       "url": "https://player.video.wowza.com/qa/g7xr79xw/player.html",
       "sharing_icons": true,
       ...
        }
   }
}
2. Start the live stream
Before you can connect to the stream through the WebRTC publish page in the next step, you need to start the live stream. You'll need the [live_stream_id]returned in step 1.
curl -X PUT \
-H "Authorization: Bearer ${WV_JWT}" \
"${WV_HOST}/api/${WV_VERSION}/live_streams/[live_stream_id]/start"
3. Publish the WebRTC stream
With the live stream started, you can now configure the WebRTC publish page as the source of the stream.
- Go to wowza.com/webrtc/publish and grant access to your camera and microphone when prompted.
Note: The WebRTC hosted publish page is supported on the latest versions of Chrome and Safari, as well as Edge version 79 and later.
- Click the Settings button on the upper-right corner of the page.
- Specify the following settings:
- SDP URL – The sdp_url from the WebRTC source_connection_information object.
- Application Name – The application_name from the WebRTC source_connection_information object.
- Stream Name – The stream_name from the WebRTC source_connection_information object.
- Audio Bitrate – You can leave Audio Bitrate set to the default value, 64.
- Video Bitrate – You can leave Video Bitrate set to the default value, 3500.
- Close the Settings dialog box to apply your changes.
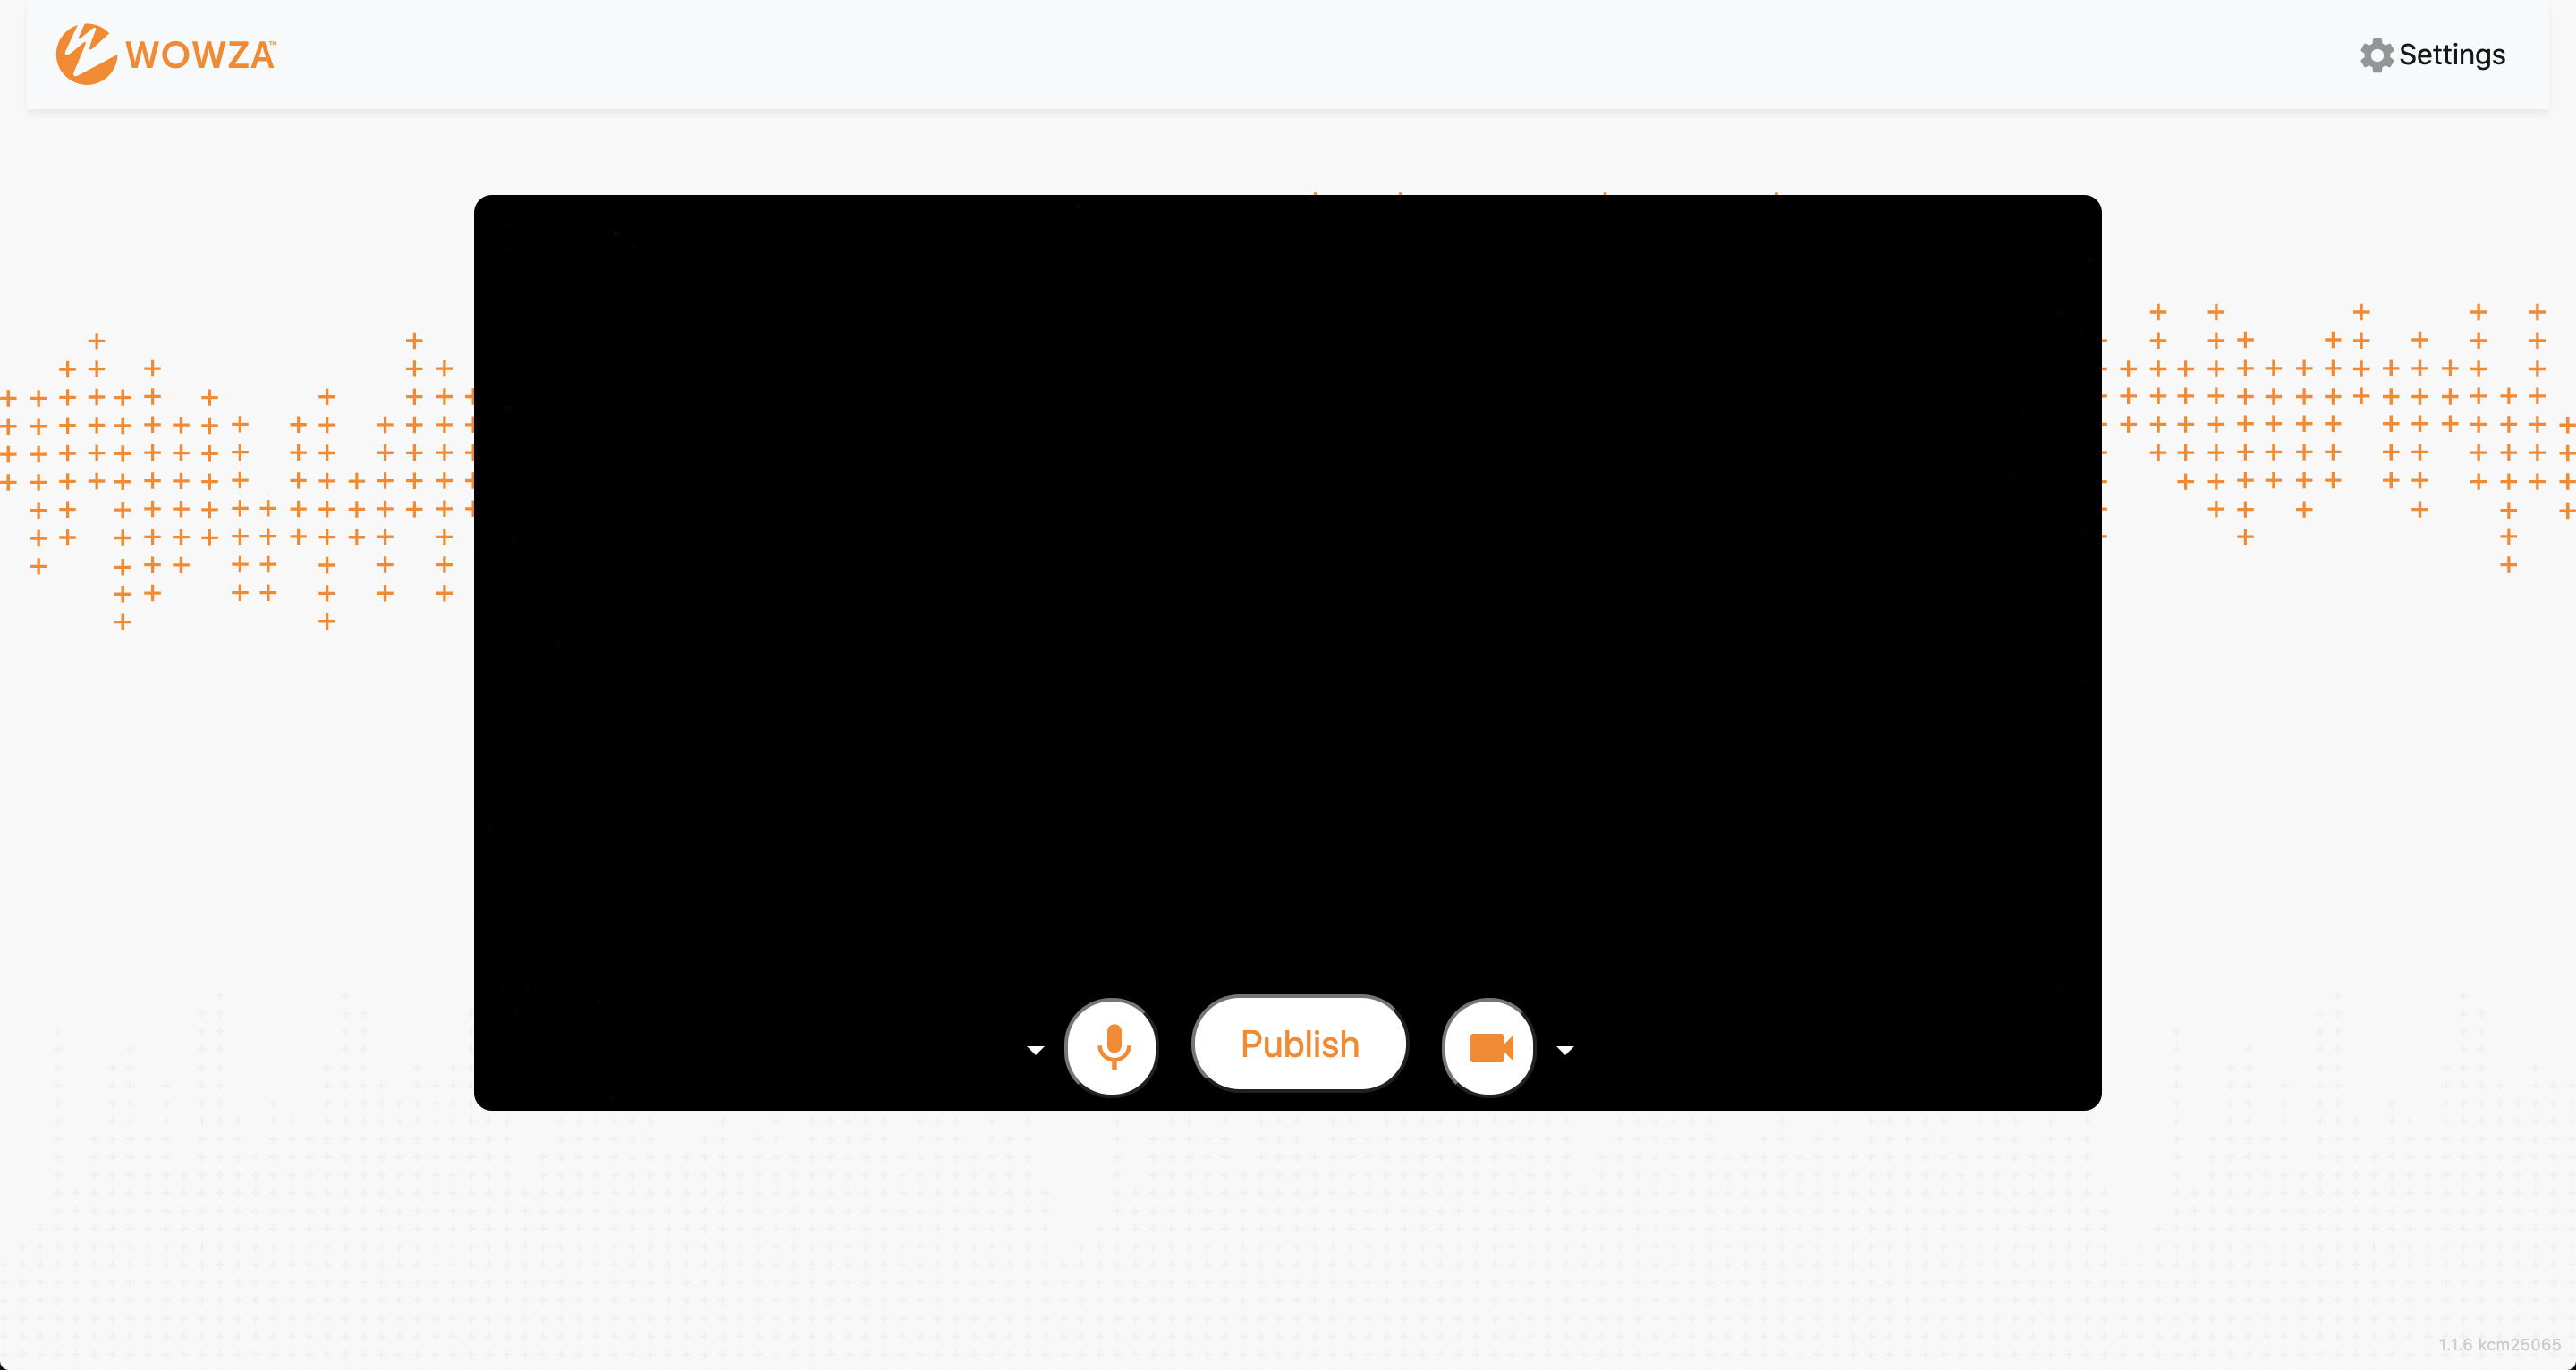
- To change which microphone to use, click the arrow next to the microphone icon.
- To change the video source, click the arrow next to the video camera icon. To share your screen, select Screen Share.
Notes:
- The video source can’t be changed after the broadcast is started.
- Screen share functionality isn't supported on mobile devices or Safari.
- Click Publish.
The stream now has source video that you can view on the WebRTC playback page.
4. Play the WebRTC live stream
You can use the url in the hosted_page object to test your stream and to give to your viewers so they can watch the live stream.
- Open the url in the hosted_page object in a new browser tab.

- Click the Play button.
5. Stop the live stream
To avoid incurring additional billing charges, remember to stop the live stream after the stream broadcast is over.
curl -X PUT \
-H "Authorization: Bearer ${WV_JWT}" \
"${WV_HOST}/api/${WV_VERSION}/live_streams/[live_stream_id]/stop"
More resources
- Wowza Video REST API reference documentation
- WebRTC workflows in Wowza Video
- Deliver WebRTC streams to viewers using the Wowza Video REST API
Transcoder workflow
1. Create a transcoder
Create a transcoder that receives a WebRTC source by sending a POST request to the /transcoders endpoint.
You can use the following sample request, making sure to:
- Set protocol to webrtc.
- Set delivery_method to push. Wowza Video doesn't support pull or cdn connections for WebRTC.
- Set broadcast_location to the region that's closest to your video source.
- Set buffer_size to 0. The default buffer size for a stream is 4 seconds. Changing the buffer size to 0 decreases the latency of the stream and gets it closer to real-time.
- Set transcoder_type to transcoded. We recommend that you use an adaptive bitrate transcoder (transcoded) when performing direct playback of a WebRTC stream for maximum viewer connections and a larger feature set, however the transcoder workflow allows you to select passthrough. The transcoder type affects how many viewers can connect to your stream directly through the transcoder:
- transcoded results in a larger transcoder that can handle more viewer connections.
- passthrough results in a smaller transcoder which can result in lower overall costs, but also means fewer viewer connections and other limitations. If you choose passthrough, make sure you do sufficient testing to ensure your streaming goals are met.
- Change any values unique to your broadcast, using the API reference documentation as a resource. See the Endpoint Reference button below.
Sample request
curl -X POST \
-H "Content-Type: application/json" \
-H "Authorization: Bearer ${WV_JWT}" \
-d '{
  "transcoder": {
    "billing_mode": "pay_as_you_go",
    "broadcast_location": "us_west_california",
    "delivery_method": "push",
    "name": "MyWebRTCTranscoder",
    "protocol": "webrtc",
    "transcoder_type": "transcoded"
  }
}' "${WV_HOST}/api/${WV_VERSION}/transcoders"
Sample response
The response includes:
- An id for the live stream you'll use in the next step.
- domain_name, application_name, and stream_name you'll use in step 4 to configure the WebRTC publish page.
{
  "transcoder": {
    "id": "tmd8ybp2",
    "name": "MyWebRTCTranscoder",
    "transcoder_type": "passthrough",
    "billing_mode": "pay_as_you_go",
    "broadcast_location": "us_west_california",
    ...
    "protocol": "webrtc",
    "delivery_method": "push",
    "source_port": 443,
    "domain_name": "[hostname].entrypoint.video.wowza.com",
    "application_name": "app-V5840271",
    "stream_name": "R1gxG3Ja",
    ...
    "outputs": [
      {
        "id": "bdnvb0l",
        "name": WebRTC Output: Video + Audio",
        "transcoder_id": "tmd8ybp2",
        ...
        "output_stream_targets": []
      }
    ]
  }
}
2. Add output renditions and stream targets
Complete the transcoder by adding output renditions and stream targets. For instructions, see Create an ABR stream and send it to a target with the Wowza Video REST API.
3. Start the transcoder
Before you can connect to the stream through the WebRTC publish page in the next step, you need to start the transcoder. You'll need the [transcoder_id]returned in step 1.
curl -X PUT \
-H "Authorization: Bearer ${WV_JWT}" \
"${WV_HOST}/api/${WV_VERSION}/transcoders/[transcoder_id]/start"
4. Publish the WebRTC stream
With the transcoder started, you can now configure the WebRTC publish page as the source of the stream.
- In a new browser tab, go to wowza.com/webrtc/publish. Grant access to your camera and microphone when prompted.
Note: The WebRTC hosted publish page is supported on the latest versions of Chrome and Safari, as well as Edge version 79 and later.
- Click the Settings button on the upper-right corner of the page.
- Specify the following settings:
- SDP URL – Enter wss://[address]/webrtc-session.json where address is the domain_name in the API response.
- Application Name – The application_name in the API response.
- Stream Name – The stream_name in the API response.
- Audio Bitrate – You can leave Audio Bitrate set to the default value, 64.
- Video Bitrate – You can leave Video Bitrate set to the default value, 3500.
- Close the Settings dialog box to apply your changes.
- To change which microphone to use, click the arrow next to the microphone icon.
- To change the video source, click the arrow next to the video camera icon. To share your screen, select Screen Share.
Notes:
- The video source can’t be changed after the broadcast is started.
- Screen share functionality isn't supported on mobile devices or Safari.
- Click Publish.
5. Test the connection
Now that you have configured your source, you can fetch a thumbnail that shows a frame of the playing stream to visually confirm the stream is playing. You'll need the [transcoder_id] returned in step 1.
curl -X GET \
-H "Authorization: Bearer ${WV_JWT}" \
"${WV_HOST}/api/${WV_VERSION}/transcoders/[transcoder_id]/thumbnail_url"
Alternatively, you can use the playback_url to configure the stream for playback in an HLS-compatible player. The URL is returned in a request to fetch stream target details. See the API reference for more information about these endpoints.
6. Stop the transcoder
To avoid incurring additional billing charges, remember to stop the transcoder after the stream broadcast is over.
curl -X PUT \
-H "Authorization: Bearer ${WV_JWT}" \
"${WV_HOST}/api/${WV_VERSION}/transcoders/[transcoder_id]/stop"